
Outbreak scenario: File #1 Normal walkthrough
Escape J’s Bar, reach the canal, and finish at Main Street. This guide follows one route through the original Outbreak scenario on Normal difficulty, using the familiar keys and the final detonator. It is intended for a first clear, rather than collecting every event.
SOURCES CHECKED OCTOBER 25, 2026 · ORIGINAL-GAME REFERENCEUse this as a solo-play reference with AI partners. Online coordination tips below are planning advice, not a verified online run.
Before you start
Keep the controls guide nearby and identify your interact, inventory, map and item-request inputs. Opening the inventory does not pause the action. Read the next objective before entering a dangerous area, and make room for the item that advances it. Health and infection are separate concerns: reaching 100% infection is fatal even if you still have health.
Your broad route is J’s Bar → upper floors → rooftop → neighbouring apartment → police barricade → canal → evacuation van → Main Street.
1. Leave J’s Bar
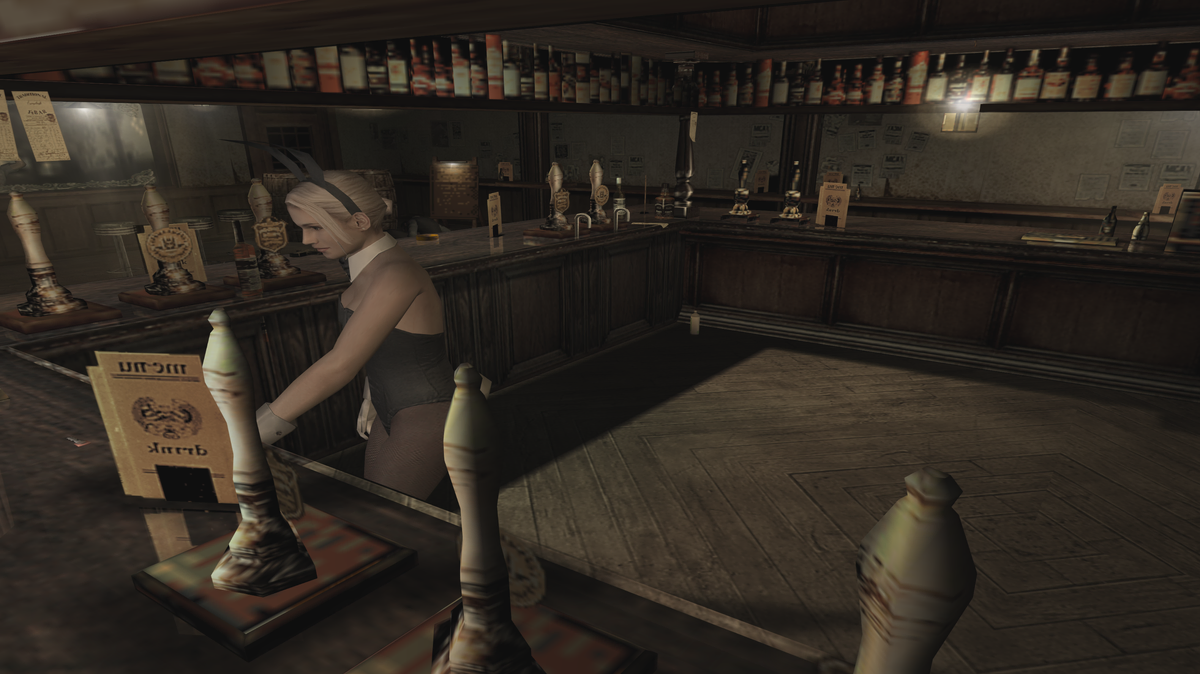
On Normal, collect the Staff Room Key from the bar counter. Use it on the door leading to the stairs, then climb to the Staff Room. You do not need to wait for the bartender’s body to become searchable on this difficulty.
In the Staff Room, find the Key With Blue Tag beneath the newspaper on the recreation-area table. It opens the door to the stairs leading toward the Liquor Room. Check the item name before leaving: this key and the Staff Room Key serve different doors.
The barrels at the entrance and the upstairs Nail Gun barricade can buy time. They are optional defensive actions, not the objectives that unlock the next floor.
2. Use the forklift to reach the rooftop
Enter the Wine Room from the Liquor Room and collect the Forklift Key from the table in its southwest corner. Return to the forklift at the far end of the Liquor Room. Use the key, operate the machine, and climb the raised cargo route to the opening above. Continue up the stairs toward the roof.
You can collect the Storage Room Key on the desk at the top of these stairs. It opens a supply room on the roof; it does not unlock the main escape route. Skip that detour if your immediate aim is to keep moving.
3. Cross to the neighbouring apartment
Find the weak fence on the rooftop and break it to open the crossing. Once the escape countdown begins, climb onto the ledge and jump to the neighbouring building. If you end up hanging, concentrate on climbing up or receiving help before attempting anything else.
Enter the apartment building, take the elevator down, and leave through the ground-floor exit. Your next objective is outside with the police; searching every apartment corner is unnecessary for this route.
4. Build the street barricade, then escape the tanker
Follow the officer’s instruction to push the police cars into a barricade. When the scene moves on, survive while the officer opens the next exit; you can help damage that door. Continue toward the tanker at Slope Along the Canal.
You need a Lighter for the fuel. If you did not collect one from the Drawing Room table upstairs, check Officer Raymond’s body here. The second lighter cannot be collected if you already carry one.
Open the valve at the rear of the tanker. Move everyone clear of the spilled fuel, then use the Lighter to ignite it. After the ignition scene, jump into the canal promptly. Follow the opening across the water into the underground passage and climb out toward the Apple Inn.
5. Reach Main Street and assemble the detonator
At the Apple Inn evacuation point, speak to the officer to continue by van. The ride ends at another obstruction. Leave the vehicle and proceed on foot through the residential route toward the Footbridge, then continue to Main Street after the scene.
For this ending, collect the Detonator Handle and Detonator Main Unit from the street. The item reference places the handle on the west side and the main unit on the east side. Combine them into the Detonator, then use it on the explosive rig in the middle of the street beside the fallen policeman. Carrying the parts without combining and using them does not complete this objective.
What can you leave for another run?
Bob’s escort and character-linked scenes, the rooftop supply room, collectible files and extra weapons are separate from this route’s core objectives. The painting-and-bottle puzzle is also unnecessary for obtaining the Forklift Key on Normal; its role changes on higher difficulties.
If you want the early Normal-mode weapon detour, follow the first-scenario shotgun guide for the bottle puzzle and difficulty-specific alternatives.
The detonator is not the only ending. In the original single-player route, you can also return to the evacuation vehicle after the Footbridge scene and accept the officer’s offer to leave. This guide continues to Main Street so that your objective remains clear.
If you get stuck
A key is missing: confirm your difficulty and the exact room name. The locations above are for Normal. In a group, ask whether someone already holds the item before repeating the search.
You cannot ignite the fuel: check that the valve was opened, that you are using the Lighter, and that everyone is clear of the fuel.
The group keeps separating: agree who carries the next progression item and regroup before the roof crossing, tanker ignition and final street. For online room setup, use the separate online guide.
Sources and verification limits
Original-game route references and item records were cross-checked with timestamped dialogue in a recording labelled as the US release. The gameplay transcript checked was from a solo run; this is not a browser playtest. Browser-specific behaviour, online timing and every character variation have not been tested here. See our sources and verification limits.
- Playing Manual 1 — in-game instructions transcribed by Evil Resource
- Playing Manual 2 — in-game instructions transcribed by Evil Resource
- Staff Room Key — difficulty-specific locations
- Key With Blue Tag — difficulty-specific locations
- Forklift Key — use and difficulty-specific locations
- Storage Room Key — use and locations
- Lighter — tanker use and locations
- Detonator Handle and Detonator Main Unit
- Detonator — assembly and final use
- Freeola — Kevin’s Outbreak route by nathanjackson
- World-of-Longplays — PS2 Longplay [148], Resident Evil: Outbreak (US), played by Spazbo4
- REVIL — Outbreak Normal guide and event descriptions, in Portuguese
Image notes and credits
J’s Bar counter
J’s Bar’s counter is the first landmark in the File #1 route. On Normal, check the counter for the Staff Room Key; the image itself does not display the difficulty. Source: SairentoZ7’s original-game guide. Game image © CAPCOM.