
Resident Evil Outbreak scenarios
Use this directory to identify a scenario and find the walkthrough available on this site. Our current route covers Outbreak in File #1. The other nine main scenarios are listed by name, so you can see which game they belong to.
SOURCES CHECKED OCTOBER 25, 2026 · ORIGINAL-GAME REFERENCEThis list does not show which scenarios are unlocked in your save.
Jump to File #1, File #2, or choosing a route.
File #1: five main scenarios
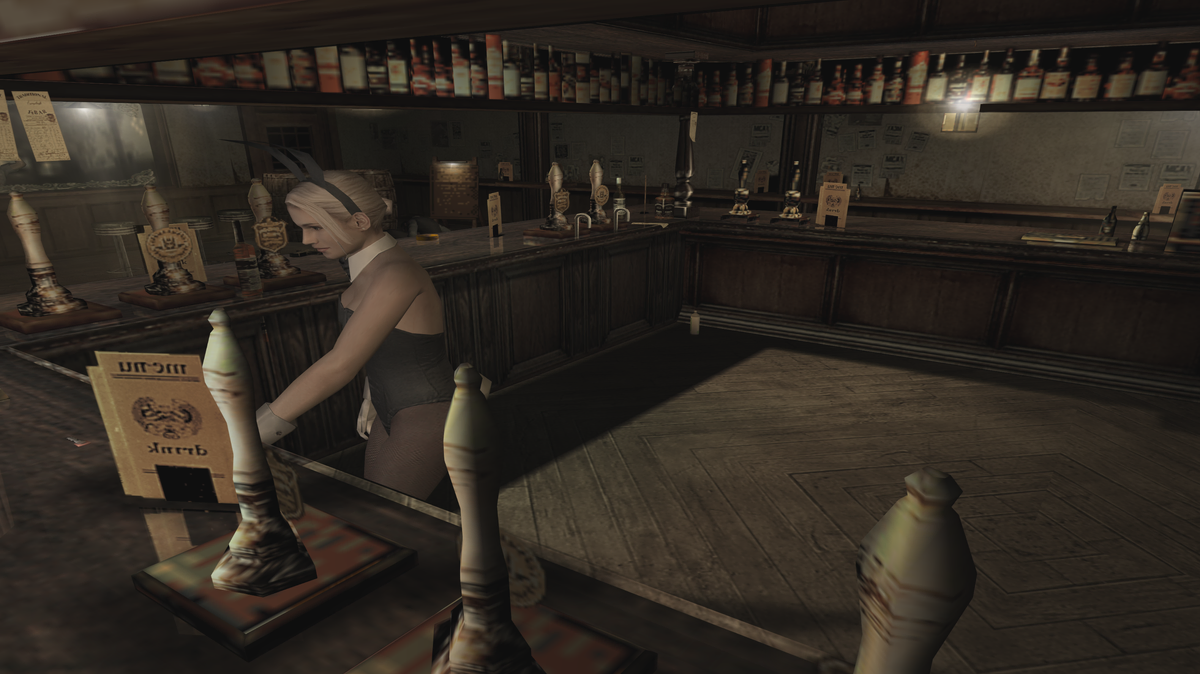
- Outbreak — read the Normal route guide · Find the shotgun
- Below Freezing Point
- The Hive
- Hellfire
- Decisions, Decisions
File #2: five main scenarios
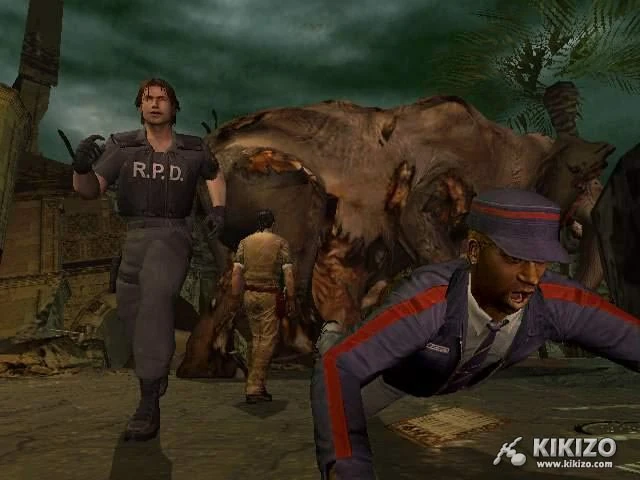
- Wild Things
- Underbelly
- Flashback
- Desperate Times
- End of the Road
This list covers the main scenarios, rather than training or extra battle content.
Choose a route that matches your run
Start with the game and scenario displayed on your screen. If you are deciding between the games, read File #1 vs File #2 first.
For your first File #1 attempt, combine the beginner gameplay guide with the Outbreak route linked above. Read the route's scope before following its item locations: our guide follows Normal difficulty and one path to the Main Street ending.
Choose one objective for the attempt. Reaching the next major transition is a useful practice goal if the whole route feels unfamiliar. Use the character comparison when deciding which survivor's tools you want to learn.
When a guide does not match your game
Before retracing the entire route, compare these details:
- Game and scenario: check both names, not just a familiar room.
- Difficulty: read the guide's stated setting before relying on an exact pickup location.
- Survivor: look for character-specific steps or alternatives.
- Mode and version: check whether the author describes AI companions, human teammates, and a particular original release.
- Current objective: identify the last step you completed and the item or interaction you need next.
Write down that mismatch in concrete terms. “The key is missing in this room on this difficulty” is easier to investigate than “the guide does not work.”
Questions
Does this page unlock scenarios?
No. It is a reference directory. Check the in-game scenario menu for what is available in your current save; the list here is not an availability indicator.
Is there a walkthrough for every name?
Our current scenario walkthrough is the File #1 Outbreak route. The remaining names have no individual guide pages on this site. Use the game lists to identify a scenario without expecting a route behind each entry.
Where should I go if I cannot start the game?
Use Getting Started for launch instructions or Troubleshooting for a loading problem. This directory is for identifying scenarios and choosing gameplay guidance after setup.
Sources and verification limits
Names and grouping were checked against original-game guides on October 25, 2026. This page does not report browser playtesting or show which scenarios are unlocked in your save. See our source notes for how reference limits are described.
Image notes and credits
J’s Bar counter
J’s Bar’s counter is the first landmark in the File #1 route. On Normal, check the counter for the Staff Room Key; the image itself does not display the difficulty. Source: SairentoZ7’s original-game guide. Game image © CAPCOM.
File #2 zoo publicity image
File #2’s zoo setting in an early publicity screenshot. This is pre-release context, rather than a browser session or a route screenshot. Source: Kikizo’s April 14, 2004 preview. Game image © CAPCOM.